Trendy and Coolest Stripe Nail Design Ideas
Your nail design serve as the ideal canvas for showcasing your style, offering a wonderful avenue to channel your creativity and individuality, particularly through striped nail designs.
This guide presents a collection of more than 50 distinct looks of stripe nail designs, ranging from sleek lines and daring motifs to gradient color blends and vibrant neon tones. Each of these options ensures impactful outcomes that are sure to make a statement.
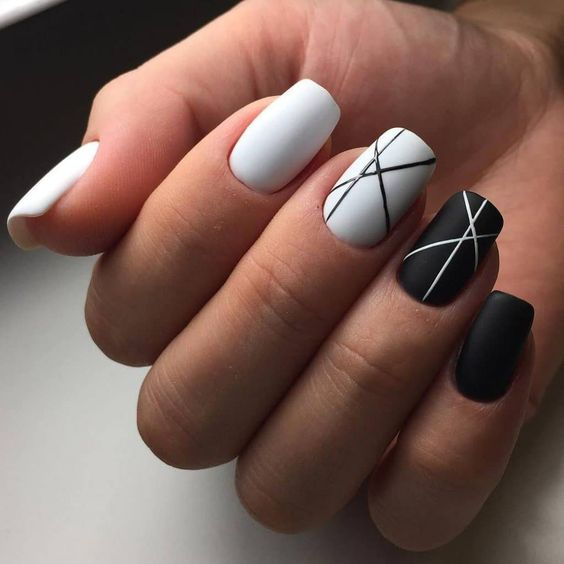
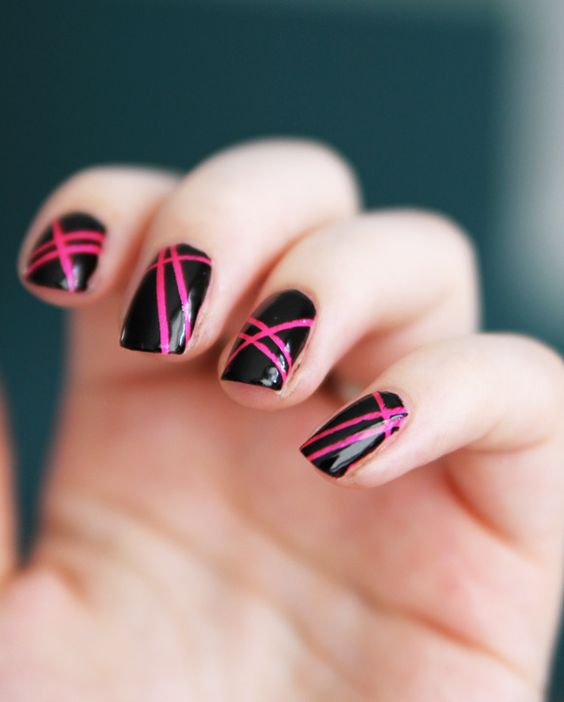
Black and White Striped Nail Art
Discover the joy in experimenting with this design! Begin by applying a base coat of your preferred color. Employ tape to create stripes, coloring one half in black and the other half in white. Peel off the tape, and voilà, your nail art is complete.
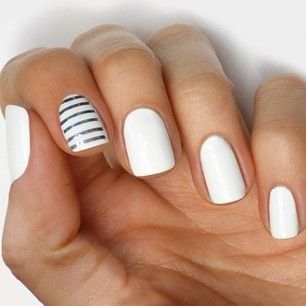
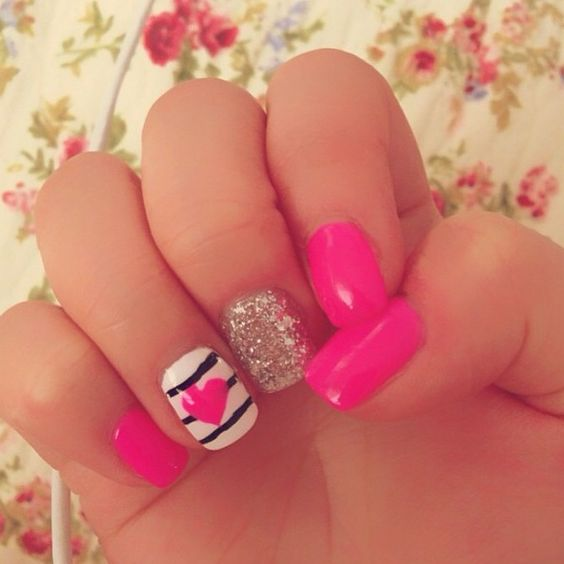
Single Nail Featuring Stripes Nail Art
Completely enamored by this effortlessly stylish DIY design. Employ various color pairings to adorn your nails, and accentuate the look by adding stripes to the nail on your ring finger!
Diagonal Stripes Nail Art
A single upward motion followed by a downward one, and you can achieve this appearance. Simple, isn’t it?
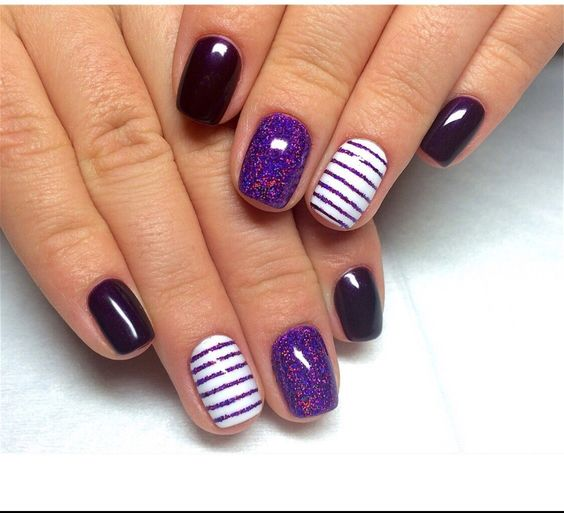
Purple and Black Stripes Nail Art
The color contrast in this case truly enhances the vibrancy of the stripes.
Nails Design in Vibrant Barbie Pink with Stripes
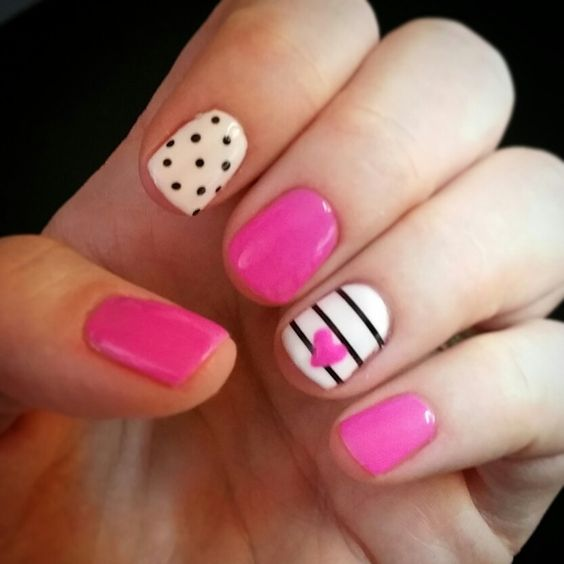
Discover an enjoyable method of merging striped nail art with your adoration for glitter.
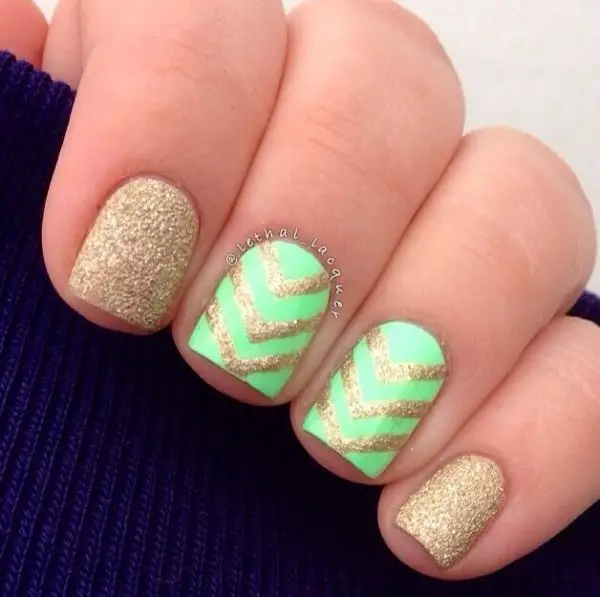
Various Striped Nail Designs Using Gold Nail Polish


Different stripe nail Designs on each nail by employing striping tape. The results are remarkably well-defined, easy to achieve, and strikingly beautiful.
Triangle Nail Art at the Cuticles


Nail Design Featuring White and Negative Space
The newest trend involves the negative space manicure, where simplicity speaks volumes, and we absolutely adore it!


Essential Tips for Experimenting with Stripe Nail Design at Home
Embracing the stripe nail trend is all the rage, and if you’re keen on joining the excitement without spending a fortune at a salon, why not give it a shot at home? Believe it or not, it’s not as daunting as it may seem. The key lies in having the proper tools, an abundance of patience, and a dash of creativity.
With these elements at hand, you can craft a splendid striped design that appears far from homemade. Opt for high-quality nail polish in vivid shades for optimal results.
Additionally, thin metal strips or a slender paintbrush can aid in crafting intricate patterns. Commence by preparing your nails with a base coat and topcoat – this ensures your stripes remain intact.
Once your nails are prepared, begin applying your chosen color using the metal strips or brush, and then layer on alternating colors. Finish with a clear topcoat to seal the deal, and you’ll be amazed at how polished the final outcome appears.
Extending the Lifespan of Your Manicure
Properly tending to your manicure can significantly extend the life of your nail design. Commence by thoroughly cleansing your nails to eliminate any dirt or oils, then gently buff to attain a flawless, smooth surface—this promotes better polish adhesion and longevity.
Following this, apply a thin layer of base coat, followed by two coats of regular polish, and finish with a glossy top coat. If you’re in a hurry, consider using a quick-drying product to expedite the drying process. Concluding the routine, nourish your hands with cuticle oil for soft, radiant skin around your nails.
By following these uncomplicated steps, you can maintain a salon-fresh manicure for a week or even longer.
Best of luck, and enjoy the process of crafting your unique nail art designs. Prior to beginning, practice the techniques on spare paper to ensure you’re comfortable with the process.