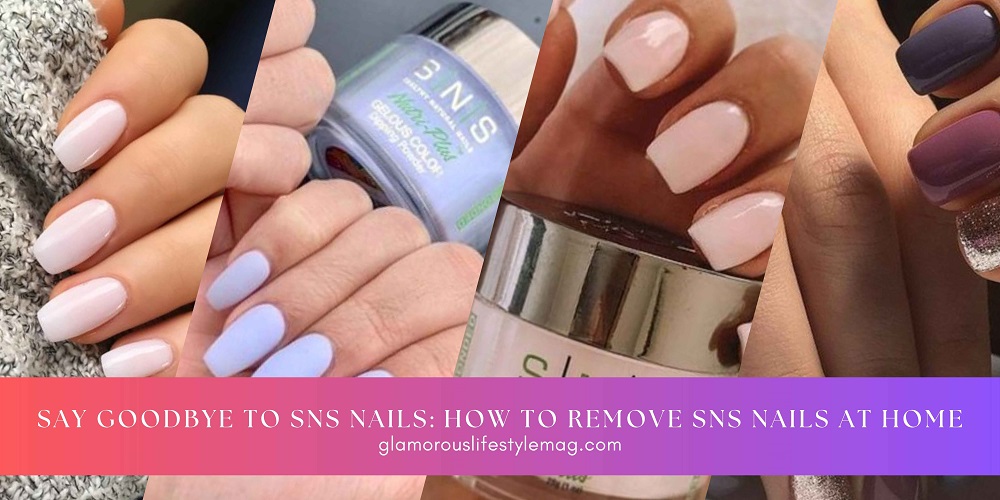
Say Goodbye to SNS Nails: How to Remove SNS Nails at Home
Do you have SNS nails and find yourself wondering how to remove SNS nails at home as they grow out without going to the salon? Removing them at home is a simple process, and you only require a few readily available items.
The following supplies are required for SNS nail removal at home:
- Emery board with a coarse grain (100 grit works nicely)
- heating up water
- Two bowls of varying diameters that ought to fit into one another
- Towels
- (Available at hardware stores) Pure Acetone
Steps to Remove SNS/Gel Nails:
Step 1 – Remove the top layer by buffing
You’ll have to use a manual method rather than a specialist electrical filing tool like they use at the salon.
Use a nail file or a buffer to gently remove the gel top coat (the glossy layer) from the SNS nails. The goal is to transform the surface from shiny to matte in appearance. By eliminating this protective top coat, the process of removing your SNS nails will become easier.
STEP 2 – Soak a cotton pad in acetone
For the next step, gather some acetone, cotton pads, and aluminum foil to begin the nail soaking process. It’s essential to use acetone remover specifically, as non-acetone formulas may not be strong enough to remove the SNS formula effectively. Additionally, ensure that your room has good ventilation to avoid inhaling the acetone fumes. Dip the cotton pads in the acetone – free nail polish remover and then place them directly onto each of your nails.
Step 3 – Wrap each nail with foil
Take a piece of aluminum foil and wrap it tightly around each nail, making sure to twist the end to secure the cotton pad closely to your nail and prevent acetone from leaking out. To set yourself up for success, it’s a good idea to cut large rectangles of aluminum foil before you begin. This process closely resembles what they do at the nail salon. Now, you’ll have to wait for at least 15 to 20 minutes, allowing the acetone to dissolve the hardened SNS powder. If you’re up for it, why not enjoy an episode of Schitt’s Creek during the waiting time?
Step 4 – Gently remove the polish
Instead of removing all aluminum wraps at once and potentially finding that the dipping powder hasn’t fully dissolved (we’ve all been there!), take a cautious approach. Begin by checking one nail first. Remove the foil and softly press or rub the cotton pad over your nail to wipe off the dissolved dipping powder. You’ll know they’re ready when the polish becomes gooey and mushy, making it easy to rub off. Continue with the remaining nails, cleaning each one with a paper towel as you go. If you encounter any stubborn polish that doesn’t come off easily, don’t worry. Simply repeat steps #2 and #3 until it dissolves completely.
STEP 5 – Apply cuticle oil and push back cuticles
After successfully removing your SNS manicure, it’s essential to prioritize the care and nourishment of your cuticles and nail bed. The chemicals and solvents involved in the SNS nail application process can leave your nails appearing less healthy, so giving them some tender loving care is crucial. Apply cuticle oil to keep them well-hydrated and maintain their health.
STEP 6 – Nail Polish
To strengthen and safeguard your nails, apply a layer of nail polish. This will help provide protection and keep your nails in good condition.